Wednesday, October 16, 2013

{DIY wooden bead light fixture}

yes i know, long time no see
I am going to use the same excuse I use almost every post,... life has just been busy! 
I think i've officially become a "once a month" blogger
Thats about all the time i can squeeze in anymore! 
but hey, 
I have a really fun post for you today
One that i have been so excited about posting for quite some time! 
We have finally begun working on Mr. Liam's nursery 
with less than 6 weeks until our due date, i guess you could say we are a bit behind
but, i realized after our first pregnancy, I put so much work into our daughters room
& she wasn't even in there until she was almost 6 months old
So this time,  we're taking our time, & trying not to stress about all the little project we want to do
Just taking it one day & one project at a time

This project though, is one i couldn't put off for very long
If you follow me on pinterest, you have probably seen me "Pin" this image about a hundred times
I kept pinning it because i didn't want to chance losing the link! 
But anyways, this light fixture is from a company called CAMP.
I Love ALL of their products, especially this light fixture! 
But I just couldn't bring myself to pay the $200 price tag, i mean come on, we are a young couple with one kid & another on the way.. $200 for a light fixture is just out of the question!

So
I took a good hard look at it & decided i could figure out how to recreate it for a fraction of the price
I recreated this lamp for $40
Here is my tutorial :) 
You will need:
paint
paint brushes
a pendant light fixture
a drill & drill bit
wooden bead balls 
Light bulb
First, drill holes in the wooden beads. They come pre drilled, but i needed the holes to be a bit bigger.
I used some pliers to hold the wooden bead in place while i drilled. 
Next, set up your paint station
Next, paint the wooden beads your chosen colors. 
I put the drilled beads  on a golf tee so they could dry easily without getting messed up. 
Plus, since my husband is a golfer, we have TONS of them all over the house.
Let them sit & dry
Now its time to put the wooden beads on the light fixture. 
This light fixture is not the one i have in the first picture of needed supplies. 
The one in the first picture is one i bought from home depot & ended up not liking.
This one in these last pictures is the one i ended up finishing the project with.
I loved the vintage feel :) 
 But anyways, to thread the beads on, you first need to take the top part with the plate off, then slide the beads onto the cord. Then replace the plate back on the cord before hanging. 
Last but not least, its time to hang your new light fixture! 
I had my husband & brother in law do that part, i didn't want to mess with the electrical stuff. 
I made this light fixture for about $40
much better than $200 :) 
I'm crazy about this light fixture, it turned out perfect! & since i made it rather than buying it, i was able to change it up a bit & add a few different colors. 
It was a fun & easy project. MUCH easier than the light project i did for Giuliana's room 
Just 5 1/2 weeks until we meet our little man, & we couldn't be more excited!
We had an ultrasound the other day & the Dr said Liam is head down, which might sound like a simple piece of information, but for us, it is big exciting news! 
Our little Giuliana never went head down, & ended up getting stuck in the birth canal in breech position. I ended up having to have a c-section for safety reasons, {Read more here &  here}  So the fact that he is head down is an answer to prayers. I am still planning on doing a VBAC! & as weird as it may sound, I am very excited to be able to have the chance to have a normal birth experience. 
We have another ultrasound in 2 weeks because, well, I'm 34 weeks & Liam's head & body are that of a 36 week baby! He weighs almost 6 pounds already! Big boy! 
So our Dr is saying there is a chance he may be earlier than we thought! Crazy! 
Keep us in your thoughts & prayers these next few weeks as we prepare for the arrival of our sweet baby boy :) 

Happy wednesday & happy crafting!  :) 

Sunday, September 22, 2013

{san diego}

I am a little late writing about this but..
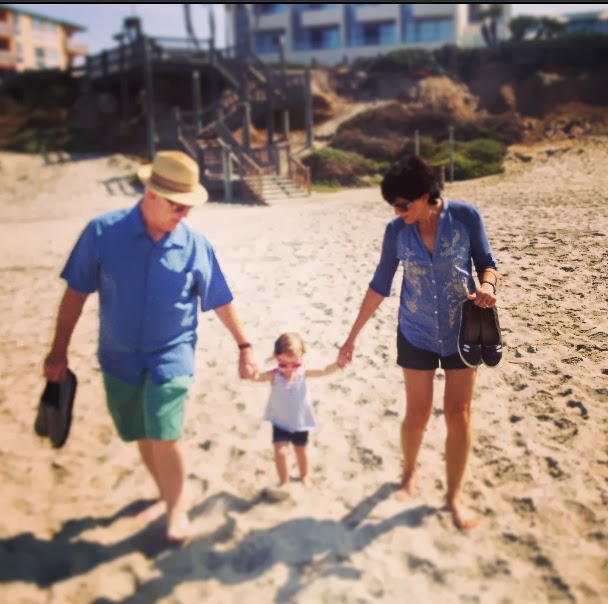
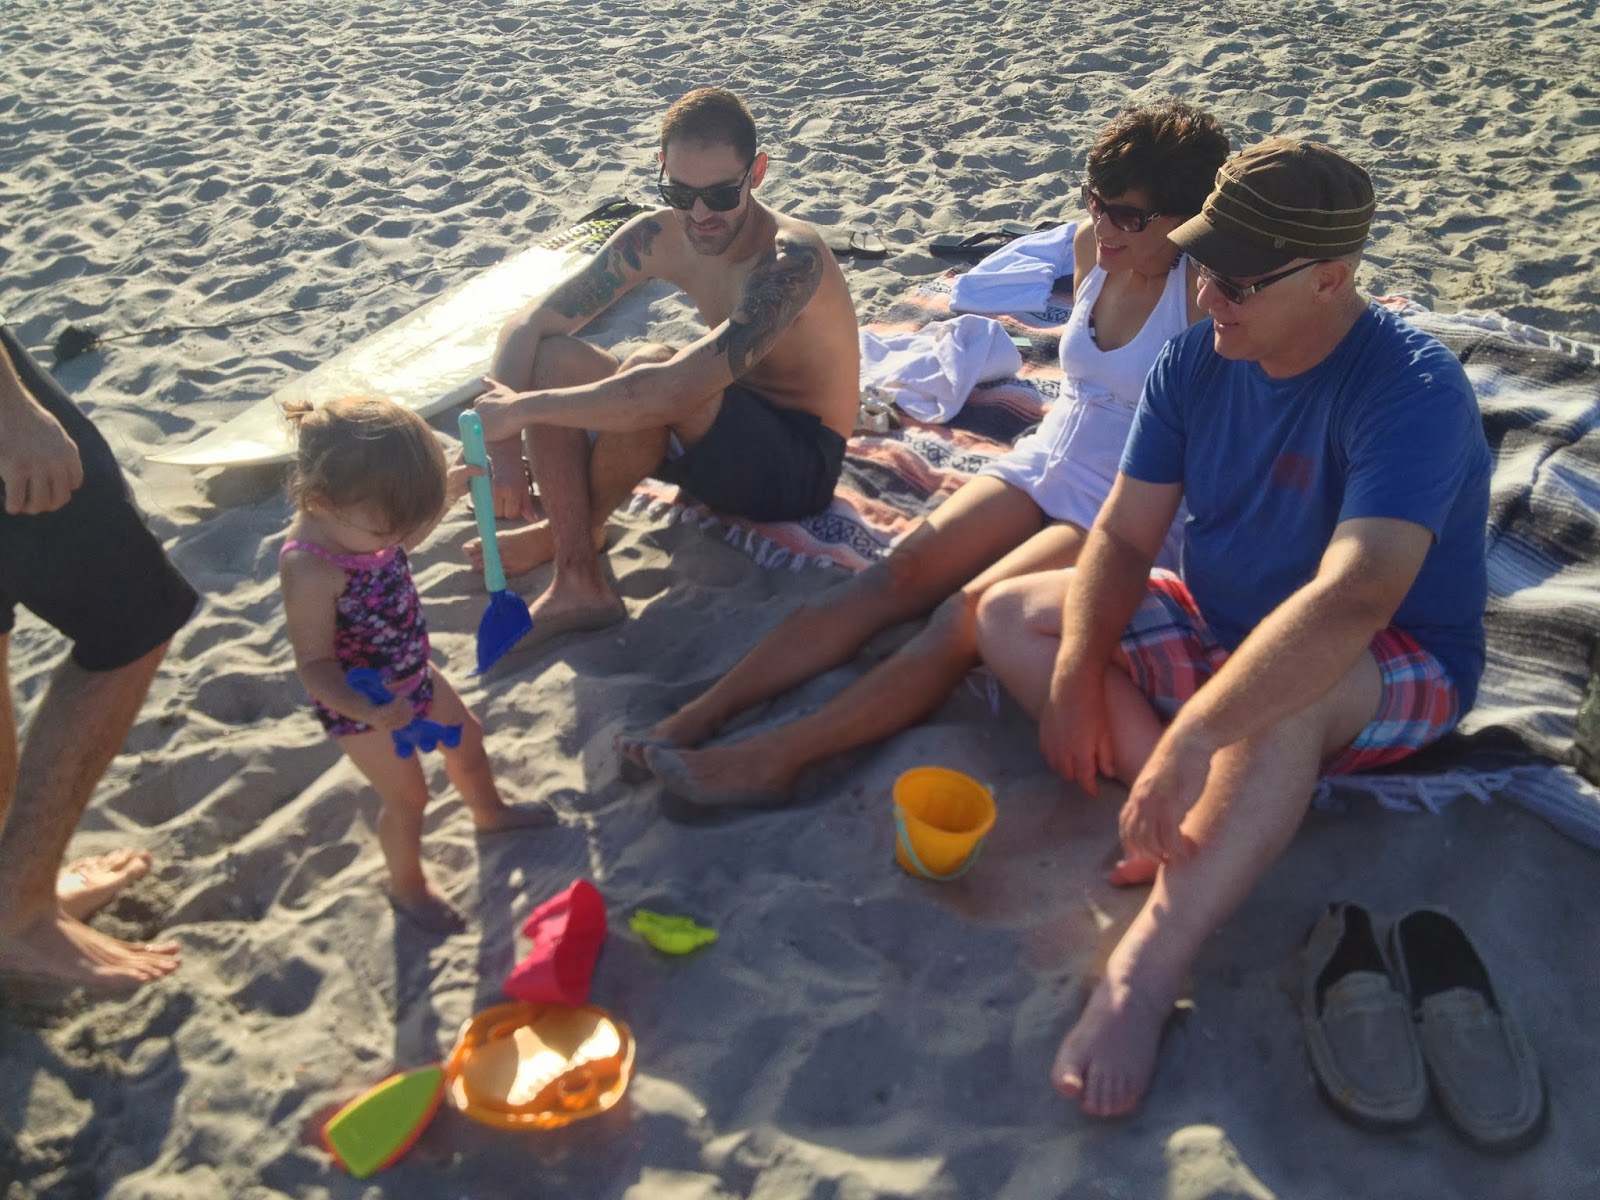
We went on a small family get away last week..
{James, Joe, cindy, G, me (& Liam!!), William}
{G with my in laws. Aren't they just the cutest?}
This was our LAST family trip with only ONE kiddo! 
 We had such a good time & made lots of fun memories.
So crazy to think that our little guy will be here so soon. Only 9 weeks to go!
Can't wait to go on trips & make memories that include him :)
I love my family! 

Well, Happy saturday!

Saturday, September 7, 2013

{DIY hot oil hair treatment & 7 healthy hair tips}

When I was pregnant with giuliana, i chopped 9 inches off my hair.
Craziest decision I've ever made!
Just because i "felt like it was time for something new"
I blame the pregnancy hormones.
It looked cute but, it just wasn't me.  
I have since been trying to grow my hair back out. 
It's been 2 years.
2 years of wearing mostly pony tails, teasing my roots to keep from looking flat, blow drying every day to get volume, using my straightener {almost every day} & using my clip in hair extensions when we dressed up, so i could curl my hair without looking like a poodle! 
Short hair was just not for me. 
It was too much work!

So here i am 2 years later, & I am finally comfortable with the length of my hair.
I can style it how I want and I look like me again! 
But
My hair has so much damage from all the hot tools and teasing & hair ties from the last 2 years..

And now, I am pregnant again & my hair is funky! Its frizzy & my scalp is dry, which makes my nasty split ends look even worse! Pregnancy does the weirdest things.
I have committed to getting my hair healthy again & the last 2 months I have changed a few things in my hair routine:

{1}
I let my hair air dry every single time i wash my hair. 
I wash my hair at night after i put giuliana to bed
As my hair dries i clean up downstairs, fold some laundry, do the dishes etc. 
It is usually dry by the time i go to bed. 

{2}
When i do use hot tools, I use a heat protectant.
I curl my hair maybe twice a week {?} 
I like BB styling lotion. It's a heat protectant and a styling spray. 

{3}
I eat more fruit & veggies
Your diet can really influence how your skin & hair look. 
I eat a banana with some strawberries almost every morning 
other "healthy hair foods" I enjoy:
Almonds
walnuts
eggs
salmon
carrots
avocados

{4}
I stopped using regular hair ties. 
I use the nylon hair ties. They don't break your hair & they don't leave a "dent" in your hair. 
I also use these spin pins from "Goody"
These things are so cool! When i put my hair in a bun, I wrap my bun, then twist one  {Only one!!!} of these in my hair and it stays all day and doesn't leave the damaging effects that hair ties can leave. 

{5}
I use a good moisturizing shampoo 
my regular shampoo & conditioner of choice:
I seriously Loooooove this stuff! 
It smells so yummy & makes your hair so soft

{6}
About a month ago, I started using WEN. 

I really truly believe that WEN has helped my hair sooo much! 
I wash with it, leave it on for 5 minutes to deep condition, & use it as a leave in conditioner.
It is seriously amazing!  
I still use my regular shampoo and conditioner, but I use this every other time i wash my hair. I use it as a Leave in conditioner every single shower though. 
The thing about WEN though, is, its Expensive!  That is a big part of why i have not completely converted to using solely WEN. I have to use about 20 pumps every shower because of my hair length so i go through a bottle pretty quick.
It really has improved my hair though.

I buy my WEN at sephora. Only some sephora locations carry it. 
the only other way to purchase it is through the WEN website 

{7}
I started incorporating home hot oil treatments into my hair routine
They have helped  my hair significantly! 
I use coconut oil with a bit of tea tree oil. The tea tree oil helps combat dry scalp & dandruff, & the oil adds moisture while sealing in that moisture with the heat. 
Here's my recipe:

You will need:
1 tablespoon coconut oil 
5-6 drops tea tree oil 

Method:
place your coconut oil in a microwave safe bowl & microwave for about 30 seconds, or until melted.
Take it out of the microwave and stir in your tea tree oil .
Dip your fingers into the warm oil & beginning at your roots, spread the coconut oil through your hair., all the way to the ends.
After you have used all of your oil, pull your hair back into bun.
Add heat to your hair.
I use my hair dryer, then wrap my hair in a towel.
Leave on for 20+ minutes.

Then, take the towel off and hop into the shower! 
Rinse your hair out then shampoo and condition per usual. 
Let your hair air dry
then revel in how healthy and beautiful your hair looks! 
Do this 1-2 times a week 

I just HAD to share what i have done to help improve the health of my hair, because, well, these things really have helped! My hair is the healthiest it has been in years! 

Hope these tips are helpful to someone out there! 

Happy Saturday :) 
xo

Sunday, September 1, 2013

{DIY coconut almond butter}

I have been a bad pregnant lady
The last couple weeks I have eaten WAAAAAY too many almondy joys
Yes the candy bar. 
The king size almond joy candy bars. 
ok i have confessed
I feel much better now :) 

You know how it is when you're pregnant though.
You get your mind set on a certain taste or smell or texture & you just have to have it! 
This craving started because of another craving i have. 
I crave ice like no ones business when i am pregnant. I craved it with Giuliana, & now, i crave it with Liam too. 
Weird right? 
Well anyways, every other day {i'm not exaggerating} i go to the circle k down the street & fill 4 44oz cups with crushed ice & store it in my freezer. Sounds so dumb i know!  but i can't resist it! It's the best ice! & i will let you in on a little secret, if you bring your cups back to circle K & refill them with just ice, they don't charge you! So, you get you ice fix for free ;) Which in my case, is great, because I munch on it all day and all night. & Everytime i go to get my free ice, i buy an almond joy, so i don't feel so guilty walking out of there with 4 cups of free ice {This is how the craving started!} ..I sound so pathetic haha! 

Well, I knew i had to kick the almond joy craving, so I came up with a healthier replacement. 
I made some yummy coconut almond butter! 
It is seriously so delicious you guys! 
When i get that craving for an almond joy, i just eat a spoonful of this stuff, & boom! Craving fixed :) 
It tastes great and it doesn't contain anything too crazy.
& it is super simple to make
You need:
1 cup of your favorite almond butter {Or any nut butter really}
1/4 cup coconut BUTTER {not coconut oil}
2 teaspoons honey {I like whipped honey}
1 teaspoon vanilla extract

* If you want to make your own almond butter, take 1 1/2 Cup of almonds and blend until they form a paste, usually about 4-5 minutes. 
I like to start with already made almond butter. Why? Because i like my almond butter super smooth & creamy :) I Love barney butter. It is the best and creamiest i have found. I buy it at sprouts. 

* Make sure you use coconut BUTTER not coconut oil. They are completely different things. 
Coconut butter is the unsweetened flesh of the coconut ground up into a butter. You can blend it into smoothies, put it on ice cream, It is delicious by itself too! I eat it by the spoonful!  Its great. & full of good calories :) 
Place all ingredients in the bowl of your food processor
Blend together until well mixed, about 3 minutes
Using a spatula, scrape every little bit of your almond butter into a container
& don't forget to lick the spatula clean ;) 
Spread it on some whole grain toast or just eat it by the spoonful! 
It is delicious no matter how you eat it 

Give it a try! It is so simple & seriously so yummy! 
Let me know what you think ;) 
Happy sunday!