Showing posts with label Home improvement. Show all posts

Wednesday, October 16, 2013

{DIY wooden bead light fixture}

yes i know, long time no see
I am going to use the same excuse I use almost every post,... life has just been busy! 
I think i've officially become a "once a month" blogger
Thats about all the time i can squeeze in anymore! 
but hey, 
I have a really fun post for you today
One that i have been so excited about posting for quite some time! 
We have finally begun working on Mr. Liam's nursery 
with less than 6 weeks until our due date, i guess you could say we are a bit behind
but, i realized after our first pregnancy, I put so much work into our daughters room
& she wasn't even in there until she was almost 6 months old
So this time,  we're taking our time, & trying not to stress about all the little project we want to do
Just taking it one day & one project at a time

This project though, is one i couldn't put off for very long
If you follow me on pinterest, you have probably seen me "Pin" this image about a hundred times
I kept pinning it because i didn't want to chance losing the link! 
But anyways, this light fixture is from a company called CAMP.
I Love ALL of their products, especially this light fixture! 
But I just couldn't bring myself to pay the $200 price tag, i mean come on, we are a young couple with one kid & another on the way.. $200 for a light fixture is just out of the question!

So
I took a good hard look at it & decided i could figure out how to recreate it for a fraction of the price
I recreated this lamp for $40
Here is my tutorial :) 
You will need:
paint
paint brushes
a pendant light fixture
a drill & drill bit
wooden bead balls 
Light bulb
First, drill holes in the wooden beads. They come pre drilled, but i needed the holes to be a bit bigger.
I used some pliers to hold the wooden bead in place while i drilled. 
Next, set up your paint station
Next, paint the wooden beads your chosen colors. 
I put the drilled beads  on a golf tee so they could dry easily without getting messed up. 
Plus, since my husband is a golfer, we have TONS of them all over the house.
Let them sit & dry
Now its time to put the wooden beads on the light fixture. 
This light fixture is not the one i have in the first picture of needed supplies. 
The one in the first picture is one i bought from home depot & ended up not liking.
This one in these last pictures is the one i ended up finishing the project with.
I loved the vintage feel :) 
 But anyways, to thread the beads on, you first need to take the top part with the plate off, then slide the beads onto the cord. Then replace the plate back on the cord before hanging. 
Last but not least, its time to hang your new light fixture! 
I had my husband & brother in law do that part, i didn't want to mess with the electrical stuff. 
I made this light fixture for about $40
much better than $200 :) 
I'm crazy about this light fixture, it turned out perfect! & since i made it rather than buying it, i was able to change it up a bit & add a few different colors. 
It was a fun & easy project. MUCH easier than the light project i did for Giuliana's room 
Just 5 1/2 weeks until we meet our little man, & we couldn't be more excited!
We had an ultrasound the other day & the Dr said Liam is head down, which might sound like a simple piece of information, but for us, it is big exciting news! 
Our little Giuliana never went head down, & ended up getting stuck in the birth canal in breech position. I ended up having to have a c-section for safety reasons, {Read more here &  here}  So the fact that he is head down is an answer to prayers. I am still planning on doing a VBAC! & as weird as it may sound, I am very excited to be able to have the chance to have a normal birth experience. 
We have another ultrasound in 2 weeks because, well, I'm 34 weeks & Liam's head & body are that of a 36 week baby! He weighs almost 6 pounds already! Big boy! 
So our Dr is saying there is a chance he may be earlier than we thought! Crazy! 
Keep us in your thoughts & prayers these next few weeks as we prepare for the arrival of our sweet baby boy :) 

Happy wednesday & happy crafting!  :) 

Sunday, December 2, 2012

{DIY pallet garden}

Want to make this?
Here's how!
You will need a drill, Wood screws, flower bed liner, {or i just used a frost protection blanket, much cheaper!! $11 at home depot}
Oh & a pallet :) 
Ive had this pallet sitting in my backyard for 6 months waiting to do this project. So you can imagine my excitement when it finally came time.
Ok, so using your drill & screws, Attatch a DOUBLE layer of backing to your pallet.
Cover all the sides & the back & secure with screws. This will ensure that no dirt leaks out.
I put screws in the back of the pallet too, along the beams, just so that the dirt wouldn't accumulate into one big pocket in the back once i leaned it up against the wall. 

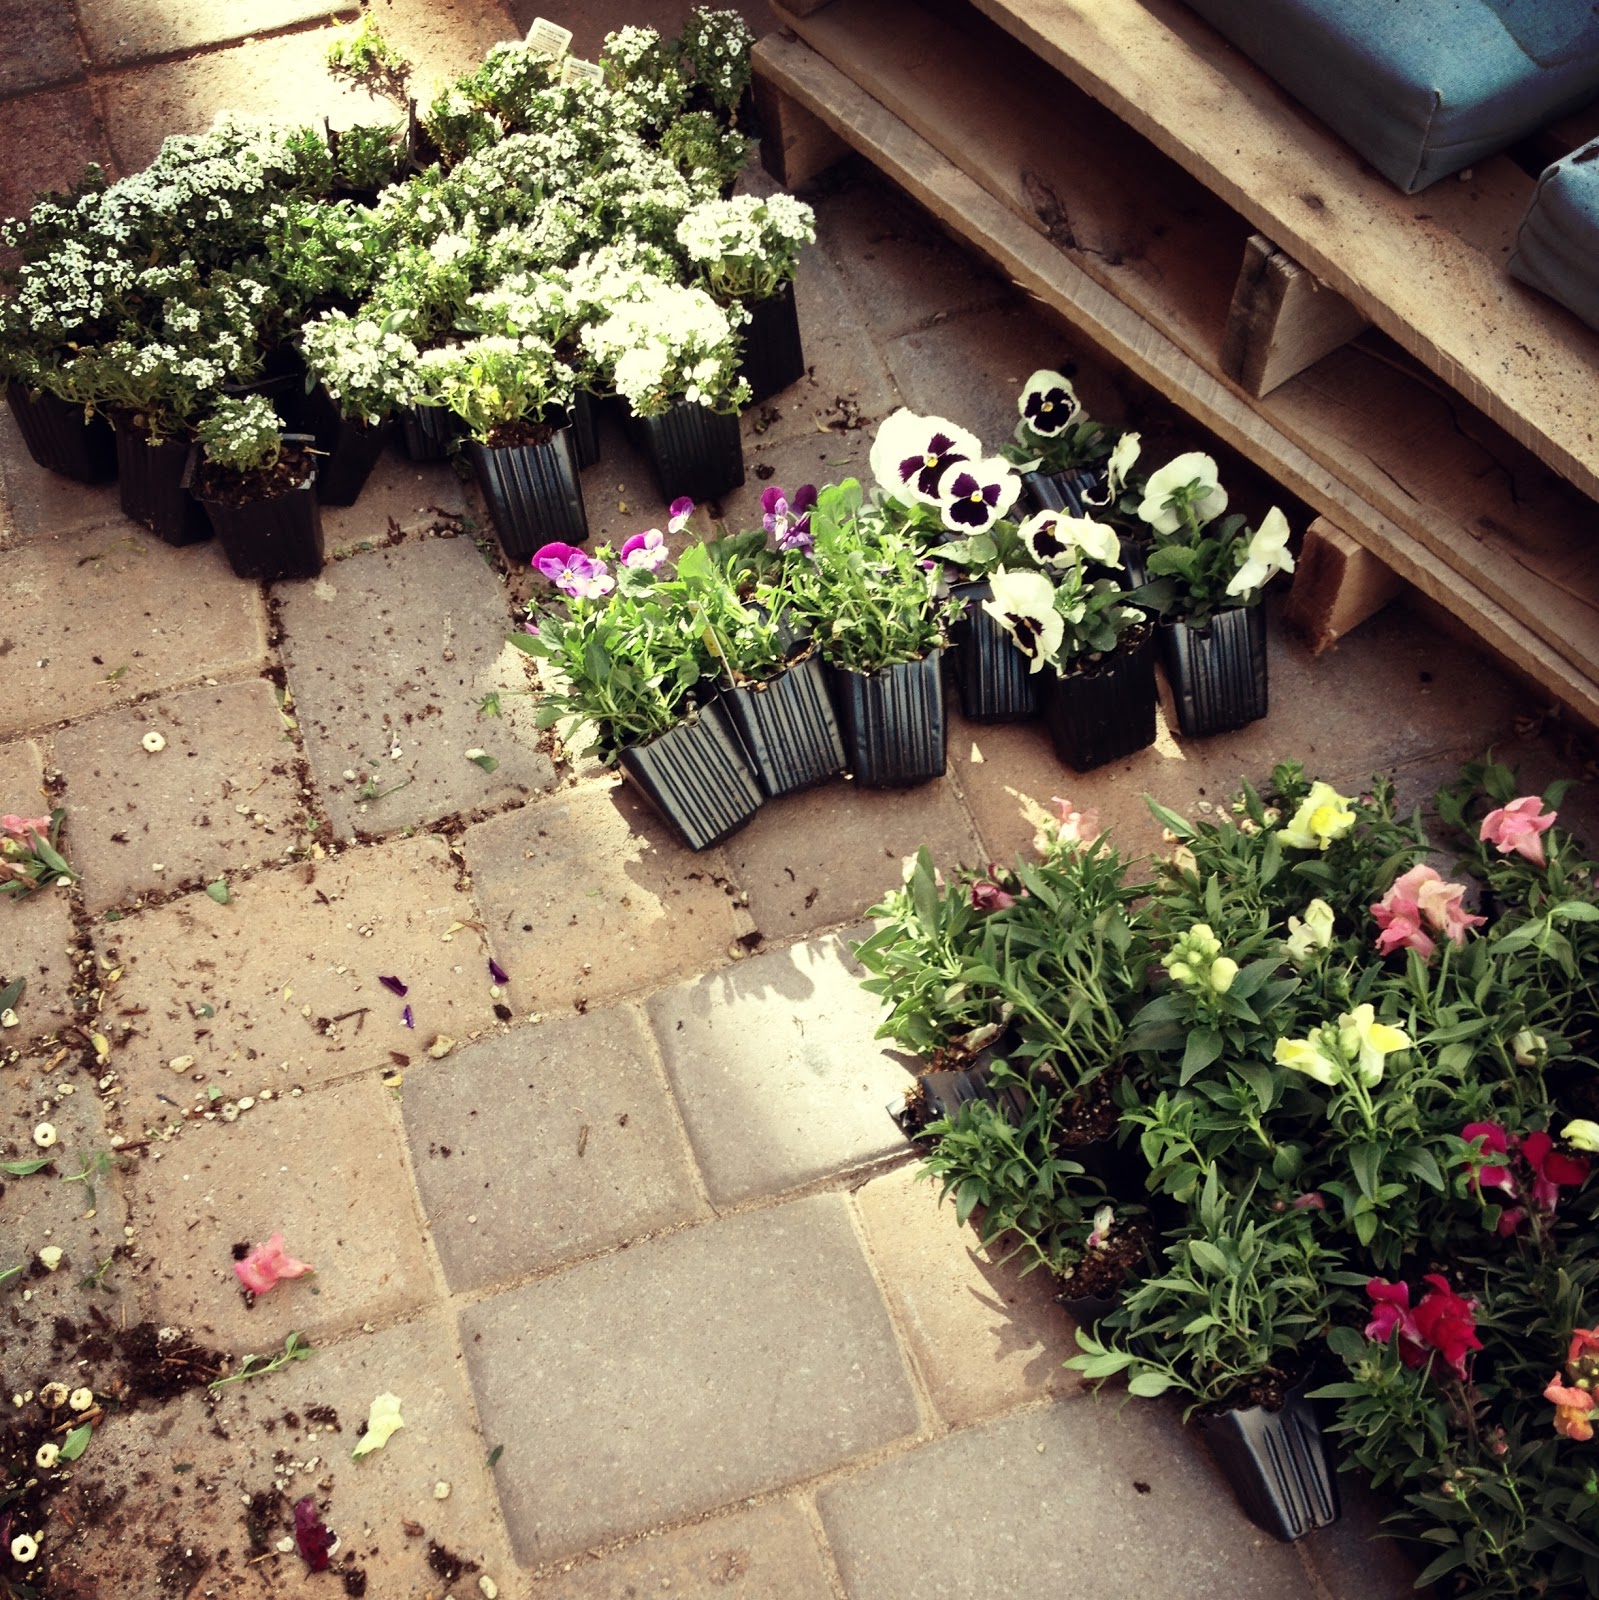
I chose to use annuals. They came in packs of 6 plants.
I cut them all into individual plants & this made it easier to play around with plant placement, before planting. 

Once you have decided where you want to place your plants, pour a layer of potting soil into the pallet. Take your plants out of their little containers, & place them in the slats. Then, handful by handful, use the rest of the potting soil to fill the empty spaces. Be sure to pack it tightly so that everything stays in its place. 
Place your pallet up against your chosen wall, water it, & you're done! 
It was a pretty easy project! My little sister, Sarah, came over to help me with it & we finished the entire project in a couple hours.
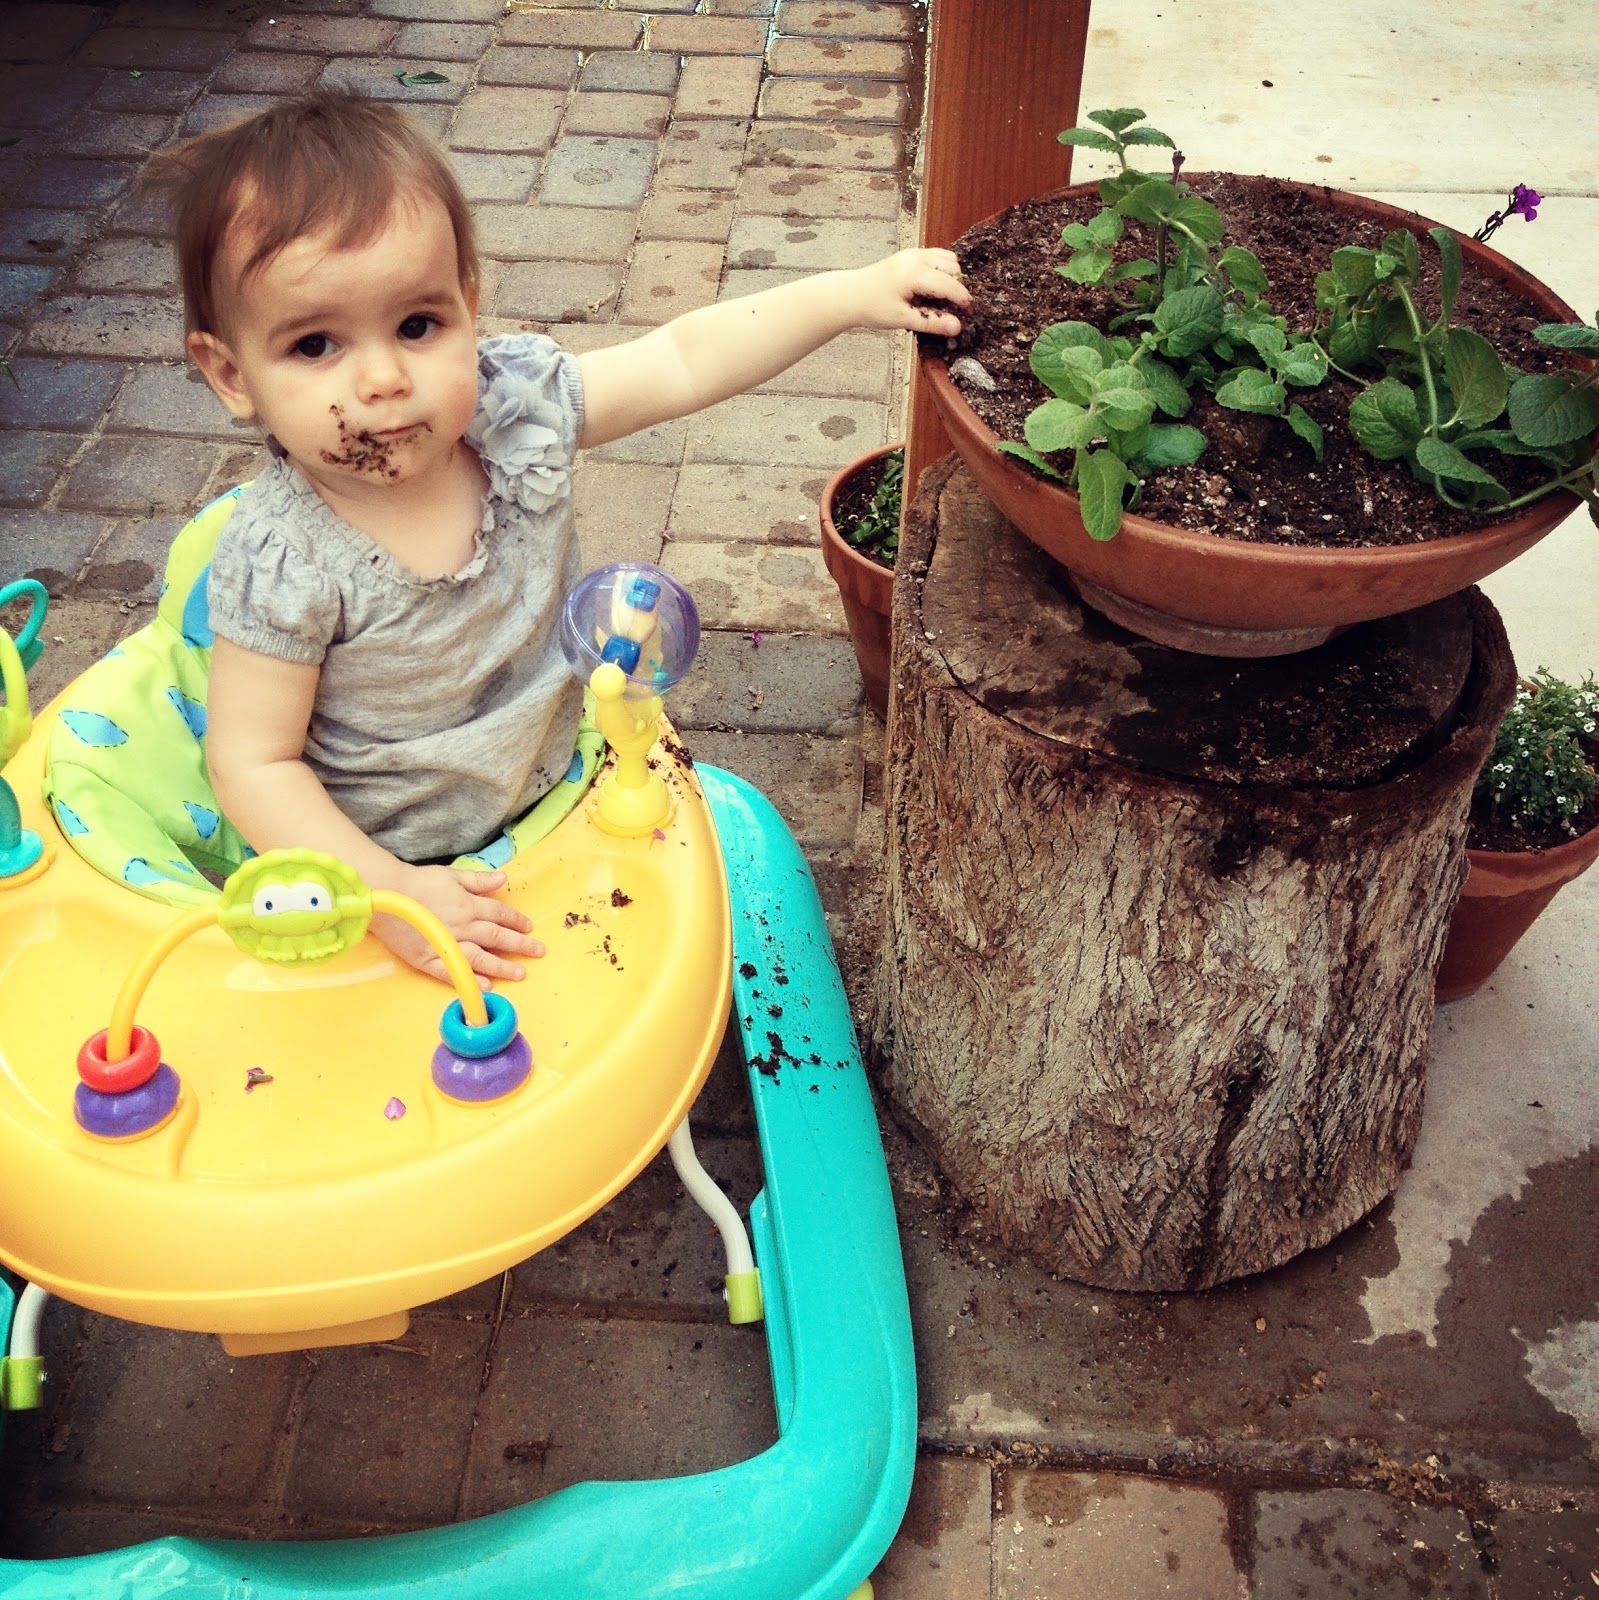
Oh.. & my other helper, little miss Giuliana, decided that instead of helping mama, she wanted to sample some of our other plants while mommy was busy working away. Yuck!
Sneaky girl! 
Hey, at least she chose the mint plant..

Happy Sunday :) 

Friday, September 14, 2012

{5 minute pillow cover}

Ok. So i didn-'t even think about doing a post about this until AFTER i finished the project, so i apologize for the "fake" reenactment pictures :) Oh & i also apologize that these are instagram photos.. i've gotten way too lazy to use my camera. I guess thats what happens when you become a mama! 

I have been slowly working on my little project list for G's room. Making a fun pillow was one of the little things on the list.  Also on that list is Painting her dresser, & her crib, & adding a chair rail to her wall, sheets for her crib, .etc... all in due time! I'm just happy i got this pillow finished.. finally!
So choose your fabric, & lay it out INSIDE OUT
Drape your inside out fabric over the pillow you are making the cover for. 
Drape it so that the fabric slightly over laps itself in the middle of the pillow, to forma a pocket. {Does that make sense?}
Mark the edges around the shape of your pillow with a pen & pull the pillow out. Place pins on the marked line to hold the fabric together. 
Ok so this is the overlapping pocket i am talking about. This is what makes it possible to easily remove the cover for washing. 
Sew your marked edges
Turn your pillow case RIGHT SIDE out & stuff your pillow in
Place your pretty new pillow on a chair, or couch or bed! Its the perfect way to add a touch of color, easily!
This project really took me 5 minutes & I only used about 1/2- 3/4 yard of fabric, that cost $2.
A $2 personalized pillow? Perfect! 
Happy Friday :) 

Friday, September 30, 2011

{ DIY Pallet Bench}

{DIY Pallet Bench}
You will need:
Pallets
A hand Saw
A strong man ;) 
Get your strong man to use the hand saw to cut the Pallets in half.   :) 
{That is the width we needed to the space we were filling.} 
Stack the Pallets on top of one another & top with comfy cushions! & That's it! 
We will probably go back & sand the edges of the pallets so that no one gets splinters. 
We will put the firepit area to good use very soon! It's definitely s'more season now :)  
Happy Friday!

Thursday, July 21, 2011

{Happy Skin!}

So, William & I have a lot to save up for, I mean, with a baby on the way & all. But one thing we are really trying to save up for {that is pretty huge} is a water softener system for our house. Our water is TERRIBLE!  We have both had several issues with the water in our home, with dishes, clothes and our skin. We want to try & have this done before baby johnston gets here.
As you may know, water softeners are very expensive.. so we are saving all of our lose change in a jar, & were going to put it all towards a water softener....eventually haha


We're calling it "The happy Skin fund!" because we think it will make our skin much happier to have softer water :) It will probably take us a while to save up, im sure. But as of right now we have about $22 & 33 cents! Its a start! 

Hope you are having a great week!! 


Sunday, June 12, 2011

{June 2010}

Its seems like the years just keep going by faster & faster! It's just so wrong. I remember when I was in high school, I wanted time to go by a lot faster, I wanted to be considered a grown up already!  & now i just want time to slow down,... & i don't think i really like being a grown up. {Sometimes} The reason I am saying this, is because we just realized that 2 years ago, around this time, we put the first offer down on our house. We had to wait a LONG time to find out if we got it, because our house was a short sale. We finally moved into it in September of 2009.
When we first bought our house it was a wreck! We bought it knowing how bad it was & thought we could easily fix all of the little things very quickly. But we were wrong. {Home improvement supplies get expensive, fast!} Here we are 2 years later & we're still not done. haha Although we have accomplished quite a bit these last two years. Here are some before & after pictures of our house {You may be shocked}

{Front entry way before, yucky carpet and weird random tile}

{Entry way after! We pulled up most of the carpet downstairs and layed tile. Hard work.}

{Kitchen before..}

{Kitchen after! Painted cabinets gray & added knobs, installed new countertops , new sink, & all new appliances.. this has taken the most time & most money... yuck}

{Floor near garage door.. yucky carpet. Serisouly, I dont understand what these people did in this house before we bought it.}

{Garage door entry after! Pulled up the carpet, layed tile, painted the walls}

{Back living room before}

{Back living room after! Still yucky carpet, but that is another project we will attempt in the future :)  }

{Stairwell before}

{Stairwell after! haha I know it looks the same. It's just not as dirty :) We are still in the process with this project. The stairwell goes up pretty high & is almost impossible to paint!}

{Master bath before, laminate, yucky cabinets}

{Master bath after! Pulled up laminate, layed tile, painted cabinets & walls}

{Back yard before..} 

{Backyard after! We are constantly working on our back yard. The next project back here is building a purgula over the patio. (Which is actually a william project) We also need to fill the planters with luscious plants :) } 


So as you can see we have done so much work! But there are still so many little projects we need to do. {Finish painting a couple of rooms, The garage,  finish the back yard, replace the carpet, & yadda yadda yadda.. haha} But we have time to finish all of these things! We aren't planning on moving anytime soon :) We love our little house, & all the work we put into it makes it feel more & more like home. 
We will be posting our home improvement projects as we finish them!