Monday, October 29, 2012

{Walk for life}

What is it: a fundraiser for Crisis pregnancy center, a non profit organization
When is it: November 3rd 2012
Who does it benefit: The mothers who come into Crisis pregnancy center, seeking help, pregnancy tests, ultrasounds, parenting classes, counseling, etc.

My friend Illyssa is an employee at Crisis pregnancy center here in Arizona.
She, along with her co-workers, are trying to raise money for the center so that they can better help mothers to be that may come into the center. 

This year, the walk has a super hero theme. 
How fun is that?! 

If you would like more information, please Click here.
By following this link & Choosing to donate, it will place you on Illyssas' team
Hoping to see you there! Miss G & I will be waiting :)

{oh & if you feel like spreading the word, please do! just post a link to this blog post on your facbook, twitter, etc.}

Friday, October 26, 2012

{DIY lace crown}

If you are on pinterest, i am sure you have seen this tutorial for making crowns out of lace.
I have had my eye on this project for quite some time, & with halloween just around the corner, i knew that now was the perfect time to finally get the chance to test out this seemingly easy project. 
It really was as easy as the tutorial made it seem! 
since i was making it for G, our 10 month old daughter, i decided to make a mini version to go with her halloween costume, one that would actually stay on her little head! 
You will need:
A toilet paper/paper towel roll
fabric stiffener
tacky glue
Glitter
Paint
Lace
Paint brush 
Jewels 
a headband
Soak your lace in the fabric stiffener for about 15 minutes
{Wrap tape around your toilet paper roll, to make it easier to slide the lace crown off once done}
once the lace is done soaking,  wrap your lace around the toilet paper roll, & connect the ends with lots of glue
Place your toilet paper rolls  in your parchment paper lined microwave.
Heat in 30 second increments until DRY
Once dry, spray the lace crowns on the toilet paper rolls with fabric stiffener & replace back inth microwave & heat in 30 second incriments until DRY
Repeat spraying & microwaving until crown becomes hard
once crown is done, pull the crown off the roll
Paint your crown & add some sparkle! 
Once done painting, return crown to the toilet paper roll & leave there until dry
The roll will help the crown keep its round shape
Once dry, your crowns will look like this!
arent they cute?
I glued a crown onto a silver headband so that it will stay better on G's sweet little head :)
After halloween, i will post a picture of G in her costume with her little homemade crown 
I cant wait! 
Is anyone else working on a project for halloween?
Happy friday!

Saturday, October 6, 2012

{DIY Flower Headband}

 
So you know those super cute fabric headbands everyone seems to be wearing lately?
I love them! They are my favorite! The ones in the above picture were purchased from a local gal who is AMAZING!

Well today im going to show you how to make your very own :)
Its actually pretty simple & quick! 

You will need:
Fabric
Scissors
a sewing machine
thread
A Hot glue gun 
Scissors or a rotary cutter & board
Cut approx. a 32 in long strip from your first fabric. 
Make the strip skinnier near the ends & a bit thicker in the middle..I didnt really do exact measurements.
Just make it as thick or this as you want!
Turn your fabric strip over & Hem the edges 
Using fabric #2, Cut out 3 leaves
Sew the leaves onto the fabric strip.
{Trace the edges of the leaf and do a stripe down the middle, like a real leaf!}
Now at this point you can top it with a basic rolled flower, or any type of flower you like!
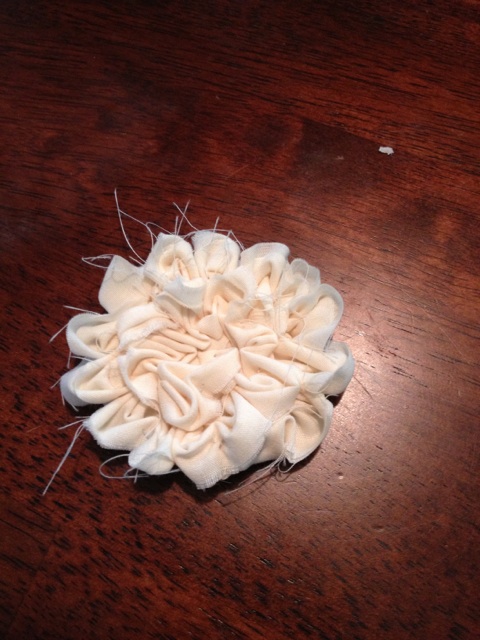
For this band, I made a big ruffly flower.. heres how

 Set your sewing machine on the longest stitch it does
Then make a zig zag pattern on your strip of fabric as shown above
{OR hand sew a long stitch zig zag}
Pull the BOTTOM thread to make a ruffle
Sew {Or glue} one end of your ruffle to a small piece of fabric
Roll to desired shape & Sew/Glue as you go
Sew or glue your flower onto the band!
You can make them in so many different colors, with different flower styles!
You can wear it & so can baby!


That is the nice thing about these wrap headbands, they can be tightened or loosened to any size!
To Wear: simply join & tie the ends of fabric in a knot around your head


They are super cute for family photos or just every day wear

Happy Saturday